Our Thanksgiving Leftover Party and Game Night would not have been complete without tasty cocktails. And in order to serve tasty cocktails you need to have fun glasses. Inspired by some fun gold honeycomb martini glasses Liz saw at West Elm, we decided to create our own chic glasses for the party. Follow along to learn how to create your own DIY Honeycomb Martini Glasses!
Step One: Lay out labels on paper. To prevent stickers sheets from blowing around when spraying with paint, use a small piece of tape to attach the sheets to the paper.
Step Two: Spray with gold paint
Step Three:Once paint dries, add labels to martini glasses starting at the bottom of the glass and working your way around in a circle. Be sure to overlap each sticker.
These martini glasses wouldn’t be complete without a tasty cocktail. Be sure to jump on over to Creative Culinary to learn how to create a SPECTACULAR Caramel Apple Cider Martini!
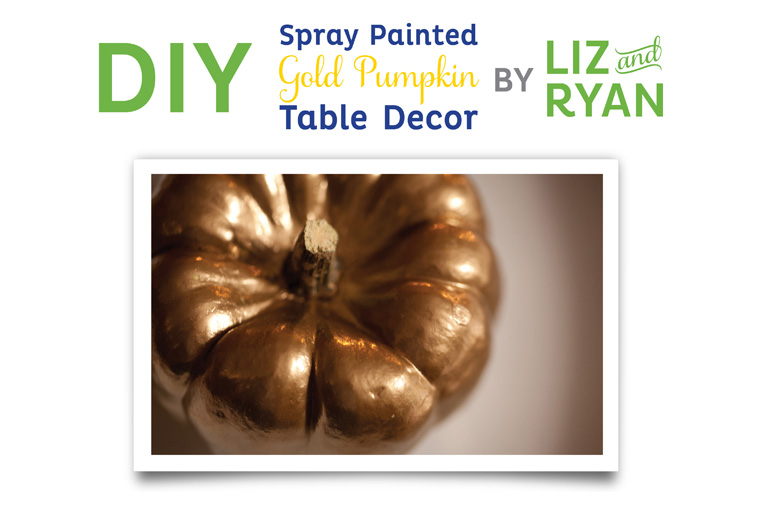
Welcome back! DIY project #2 of the day is a super easy way to spruce up your Thanksgiving Dinner place settings. As we were out and about recently, we saw lots of stores with festive looking gold pumpkins and squash so we decided to create our own for our Thanksgiving Leftovers and Game Night Party. With just a little gold spray paint you can create your own and liven up your table or home decor this Thanksgiving.
Mini pumpkins and squash from your local market. We got our’s at Whole Foods
Painter’s Tape
Metallic Gold Spray Paint (in the paint section at Lowe’s)
Elmer’s Glue (optional)
Glitter (optional)
Step One:Use blue painter’s tape to tape around the stems of the pumpkins and squash.
Step Two: Spray all sides of the pumpkins and squash with gold spray paint and let dry. Remove tape once paint is dry.
Optional Step: With a small sponge brush paint a thin layer of glue on pumpkin’s and sprinkle on gold glitter to make your decor extra sparkly!
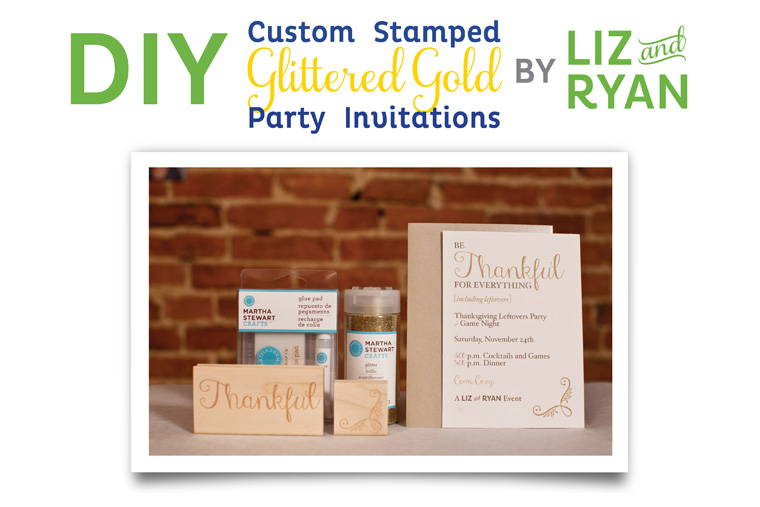
We have such and AMAZING Tuesday packed full of fun DIY projects for ya’ll today! Be sure to check back often so you don’t miss any of the fun. First up is our Custom Glittered Gold Party Invitations for our Thankful For Leftovers and Game Night party.
When we started thinking about the invitations we wanted to create for our Leftover party we wanted it to be something simple yet fun that would be easy for anyone to create. We LOVE stamps and Liz especially LOVES all things glittery so we decided to combine the two loves in this glittered gold party invitation. Initially we thought we would have to use a dish sponge and Elmer’s glue for our stamp pad but of course Martha Stewart didn’t let us down! It was almost like she was reading our minds! For this project you will need:
Start by designing your custom invitation in your favorite design program (we used Adobe InDesign). Or hire your favorite local stationery designer to create a custom design for you. Once you have your design created, save a portion of the invitation you would like covered in glitter as a separate jpeg. (We decided we wanted to make the word “Thankful” and the small corner design feature gold.) Upload the jpegs to RubberStamps.net and order a custom stamp. We ordered our stamp by 10 am and it was shipped out the same day! Print your invitations on card stock and follow the instructions below to create the perfect glittery effect.
Step 1: Add a small amount of glue to the glue pad and spread out evenly with a brush or paper towel.
Step 2:Stamp your custom stamp in the glue. Carefully line up the stamp to the printed invitation and press down.
Step 3:Remove stamp and sprinkle on glitter before glue dries.
Step 4:Pour off excess glitter, let dry, and mail off to friends and family!
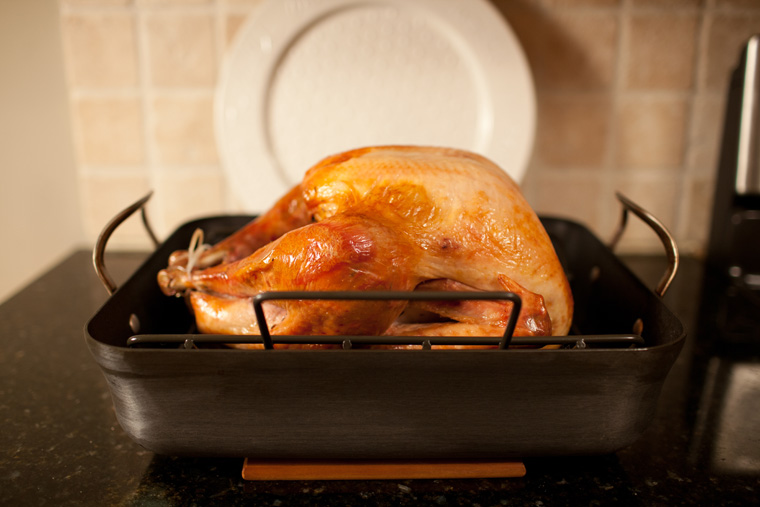
For the past four years we have hosted Thanksgiving Dinner at our home. And each year we wake up early to start cooking our turkey. It’s also a tradition to name our turkey, oddly enough we also name our Christmas Tree. Doesn’t everyone? In past years we have roasted Albert, Joey, and Tom. This year is no exception and Tony will be getting a nice salt water bath and a good warm melted butter rub down. After our Turkey is in the oven we always take a moment to relax before our out of town guests arrive. This usually involves watching the Today Show and learning from our good friend Martha how we actually should have prepared our turkey. Fortunately by that time our turkey is already roasting away and we don’t quite feel so bad that Tony’s legs aren’t properly tied. Normally we use the basting approach to cooking a turkey but this year we have decided to brine Tony. That’s where the salt water bath comes in. This simple method is guaranteed to keep your turkey extra moist and juicy. But don’t take our word for it, check out this awesome video by Alton Brown on the Food Network to learn about the magical powers of brining.
Of course to brine your turkey you will need a sufficiently sized vessel to fully submerge it. Not having such a container that was food safe lying around the kitchen, we took a trip to Lowe’s to find the requisite container, aka a perfectly blue five gallon bucket to match the Liz and Ryan brand! Thanks Lowes!
Now for the Brining…
Brining a turkey takes roughly 6-8 hours so preparing the night before is your best bet. Start with one gallon of vegetable broth (regular not low sodium), 1 cup of sea salt, 1/4 cup of whole peppercorns, and 1/4 cup of sage or other savory Thanksgiving spice. A little sugar will also give your turkey a nice flavor.
Combine all the ingredients in a large pot and bring to a boil then reduce to a simmer. Once all the salt thoroughly dissolves, remove from heat and let cool to room temperature.
Next it’s time to get out your bucket.
Fill the bucket halfway full with ice water, mix in the brine mixture, then add Tony the turkey. Add additional water and extra ice until the Turkey is fully submerged. Allow your turkey to enjoy it’s ice bath overnight or for at least 6 hours. Remove the turkey from the ice bath first thing in the morning, rinse, and pat dry.
Next up is preparing your turkey for roasting. Instead of filling your turkey with stuffing, use a combination of herbs and aromatics to add flavor from the inside out. We used a combination of parsley, fresh sage, garlic, pepper, apples, and onion. Chop your apple and onion, place in a microwaveable safe bowl, season with pepper, add 1/2 cup of water and microwave for 1 minute. This will help release the flavors of the apple and onions.
While the apples and onions are in the microwave, create a foil shield to add to your turkey to prevent the breast meat from overcooking. Do this in advance so you can easily add it to you turkey later.
Preheat your oven to 450 degree. Place your turkey on the rack of a roasting pan. Stuff the turkey with parsley, sage, garlic, onions, and apple. Then brush melted butter over the entire bird. To add extra flavor, gently separate the skin from the turkey and add butter between the skin and breast meat. Add 1/2 inch of water to the bottom of the roasting pan. This will prevent any drippings from burning on the bottom of the roasting pan. We forgot this step the first time and our smoke detector quickly remind us of it’s importance! :)
Add a thermometer to the thickest part of the turkey breast and place in the oven. Roast at 450 degrees for 30 minutes. Reduce heat to 350 degrees, add the foil shield to the turkey breast and cook until the thermometer reads 161 degrees.
Once the thermometer reads 161 degrees remove from the oven and let rest for 20 to 30 minutes. The turkey will continue to cook and increase in heat for a few minutes once removed from the oven. Carve and serve.
Have extra leftovers? Don’t worry, we will be sharing plenty of leftover recipes from our Leftovers Game Night Party later this week.
Looking for more info on how to brine and roast a perfectly succulent turkey? We highly recommend Alton Brown’s short videos on how to cook a turkey. We have provided the links below.
It’s Thanksgiving Week! Wahoo! This is one of our favorite weeks of the year! Thanksgiving provides the perfect excuse to eat a lot of food, watch a lot of football, take an afternoon nap, and most importantly… take the time to reflect on EVERYTHING that we are thankful for!
With hosting Thanksgiving, we are always up at the crack of dawn getting our turkey ready to go into the oven. We quickly get caught up in the “to do” list that we rarely take a minute to slow down and truly give thanks for everything!!This year we are going to change that up! We are going to actually take the time to go around the table and say what we are thankful for! Of course our family and friends come to mind first… but there are so many little things that we take for granted everyday that we truly are thankful for! (The blankets on our bed, heat and air-conditioning, clean water, sunshine!, high-speed internet, etc.)
We invite you to join us this year in turning the focus to being thankful for everything! Take the time to write out a list. Share the list with family and friends and add to that list daily! I can’t wait to see the magic this creates in our hearts!


 Step One: Lay out labels on paper. To prevent stickers sheets from blowing around when spraying with paint, use a small piece of tape to attach the sheets to the paper.
 These martini glasses wouldn’t be complete without a tasty cocktail. Be sure to jump on over to Creative Culinary to learn how to create a SPECTACULAR Caramel Apple Cider Martini!