Make DIY Stockings: Advent Calendar Day 12
Celebrating the Everyday, Liz's DIY //
For the longest time (well, five years now) Ryan has had a stocking to hang in our home, but I have not. Each year I talk about making a new set for us, but it never happens. Actually, one year I tried to make them and I only got halfway through until I gave up. However, this year is different and we are determined to make AMAZING happen. If you are in need of some new stockings for you and your family, hopefully you will join us on Day 12 of the Amazing Life Holiday Advent Calendar and make DIY Stockings.

About a month ago, we posted a picture on Facebook of me with my latest craft project material, coffee burlap bags. I was in the middle of making pillows and we asked you all to guess the DIY project I was working on. This was the best game ever because you all gave me the idea to make stockings (and other fun projects too) out of the same fabric! Thank you Amy and Cindy for the suggestion!!! I scoured Pinterest for a few inspiration ideas and then literally made up the design as I went along! It was a little scary… lol, but once I let go of the fact that I didn’t have a plan and took a few minutes to re-learn how to sew… I was good to go and actually had a lot of fun along the way! ;) We are super excited with how they came out and hope you will find these DIY details helpful in making your very own stockings!
DIY PROJECT: Homemade Burlap Stockings
SUPPLIES:
- Burlap Coffee Bag (We purchased ours for a $1 donation at our favorite local coffee roaster, Ceremony Coffee)
- Felt (about 1 yard)
- Ribbon for Decorating
- Sewing machine
- Needle and Thread

Step 1: Cut 2 pieces of the burlap coffee bag and 2 pieces of the felt in the shape of a stocking. (I used Ryan’s old stocking as a pattern). Be sure to cut the shapes about ½ – 1 inch larger around the edges to give you enough room to sew.

Step 2: Take the front piece of the burlap stocking and place a felt fabric piece on the back. Sew around the edges. (Be sure to keep the front of the fabric facing out). Do the same for the back piece so that you end up with 2 separate pieces (front and back) of your stocking.
Step 3: Place the front and back pieces together with the burlap facing in (your stocking will be inside out at this point). Pin the front and back together (leaving the top edges separate) to make it easier to sew.

Step 4: Before pinning the top of the front and back together, fold down the top edge of each piece. Pin these edges down.
Step 5: Sew across the top edge of the front and back separately to form a nice folded fabric edge.

Step 6: Sew around the edges of the whole stocking. (Of course, leave the top of the stocking open).

Step 7: Turn the stocking right side out and you should have yourself a stocking! ;)
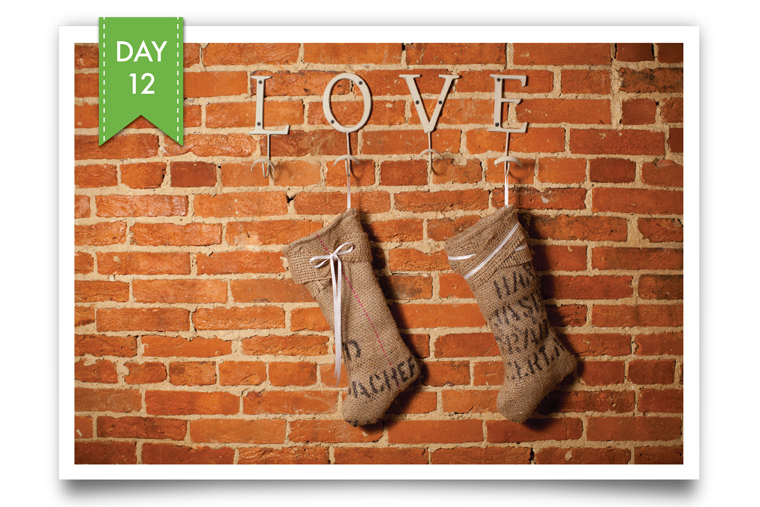
Step 8: If you choose to decorate the stocking, cut out a few strips (about 2-3 feet long) of the leftover burlap. For Ryan’s stocking, I also cut the white ribbon to the same length. For my stocking, I just needed enough of the white ribbon to tie a bow. This is the step where you can really get creative so have some fun with it!
 Step 9: To create a look like Ryan’s: sew the white ribbon to the burlap strip. Then, wrap the strip around the top of the stocking, as you would like to arrange it. Once you have an idea of where the two ends of the strip need to come together, sew the edges together to create a little tube that you can just slide over the top of the stocking. Create two of these strips and then crisscross them over the top of the stocking. Once you have them in place where you want them on the stocking, hand sew them with a needle and thread to keep them in place.
Step 10: With your needle and thread, create a hanger loop out of the ribbon you used. Attach the loop to the stocking. Be sure to sew the hanger on firmly so when Santa fills the stocking with presents (or coal… lol) it does not go anywhere!
